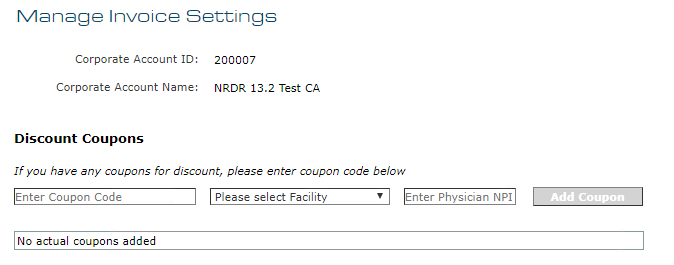
The Manage Invoice Settings page allows Corporate Account Administrators to update the inputs for computing annual registry fees, including physician counts, coupons, and fee options. It is a good idea to review and update the information on this page as part of the annual renewal process so that your fees are calculated accurately.
The page is available under the Corporate Account Management Financial menu.
Discount Coupons
The first section of the page allows you to enter discount coupons for facilities or for individual physicians. Coupons already applied are listed in the table below the input fields. Use this section to apply new coupons.
Overall Invoice Information
The Overall Invoice Information section displays the facility and physician counts used for determining fees. All fields may be updated, with the exception of “How many facilities will you be submitting data for during the calendar year?” which is automatically determined by the number of active facilities under the corporate account.
Note: Only registries to which facilities have applied appear in the table. For example, the DIR is not listed in the example, above, because none of the facilities in this corporate account have applied to the Dose Index Registry.
Fee Option Selection
The Fee Option Selection section provides a detailed accounting of how fees are calculated with the current input values under both the Full registry access and Limited single database access methods and indicates the currently selected method.
Note: As with the initial application process, the Limited single database access option is not available if any facility applies to either the DIR or the GRID registry because both registries cover all physicians in the account.
Recalculate Invoice
If you have changed information in any section, click the Recalculate button to see the impact on your invoice. If all information is correct, click Save to save the changes. If your changes require a new invoice, a prompt appears to confirm, and the updated invoice is sent via e-mail.


